Accuracy that counts
Measuring and testing service
Precise tests and measurements for your balancing machines worldwide.
From diagnosis and detailed analysis to professional correction, we offer you everything from a single source.

Accuracy that counts
Accredited test equipment and 3D CMM measurement
Ensure the precision of your balancing machine. Our accredited testing service regularly checks setting and master rotors as well as test masses for compliance with all specifications and tolerances. This ensures reliable measurements of your balancing machine at all times.
The accreditation according to DIN EN ISO/IEC 17025:2018 for unbalance and vibration velocity measurement remains in place, as does the reference to the certificate.
Your advantages as a customer at a glance:
- Accredited measurands: Geometry, mass and unbalance determination of working standards; unbalance measurement on balancing machines and measurement of vibration velocity
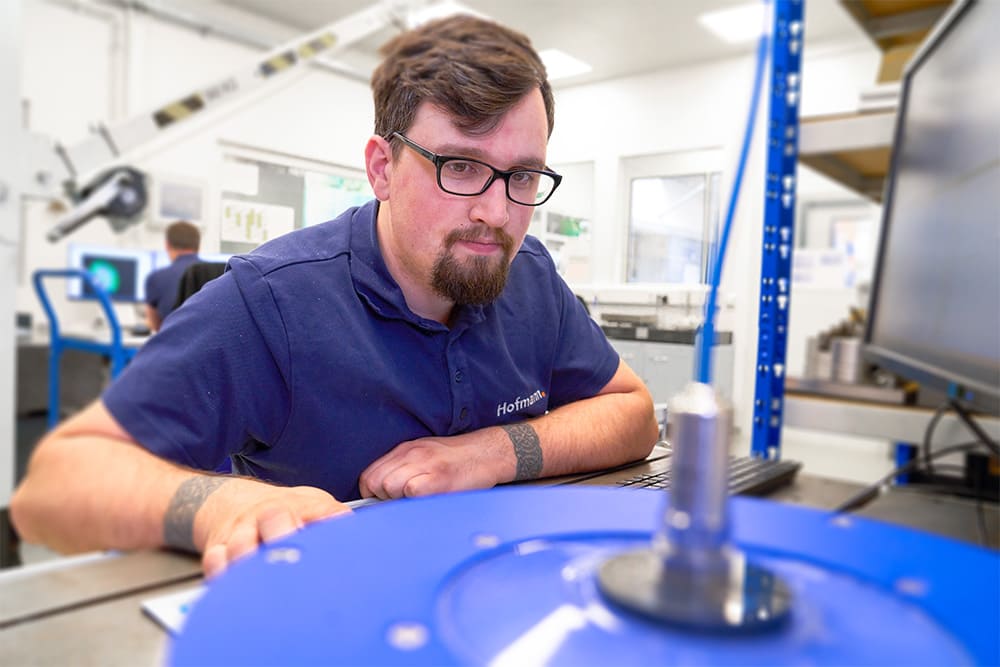
- Specially trained personnel in accordance with ISO 17025 specifications carry out standard-compliant metrological testing of the entire balancing machine and sensor system at Hofmann and on site at our customers' premises.
- Testing of the balancing machine's vibration sensors via an accredited test in accordance with ISO 17025 specifications
- Conformity assessment of the balancing machine based on the ISO 21940-21 balancing standard and the VDA 5 test specification.
- Conformity assessment of master rotors and test weights based on the ISO 21940-21 balancing standard
- Increased consumer confidence with greater legal certainty
- Fulfillment of quality and customer requirements
We are happy to support you with the calibration and inspection of your master parts or other 3D measurements of your components.
Direct contact to the Hofmann test laboratory:
Phone: +49.6157.949.327
Fax: +49.6157.949.100
certification.de@hofmann-global.com
Accredited test equipment
Continuous quality assurance for your setting and master rotors
To ensure that your balancing machines and devices work reliably and traceably in the long term, we offer a regular inspection of your test equipment. As a rule, this check is carried out annually and includes all setting rotors, master rotors and the associated test masses.
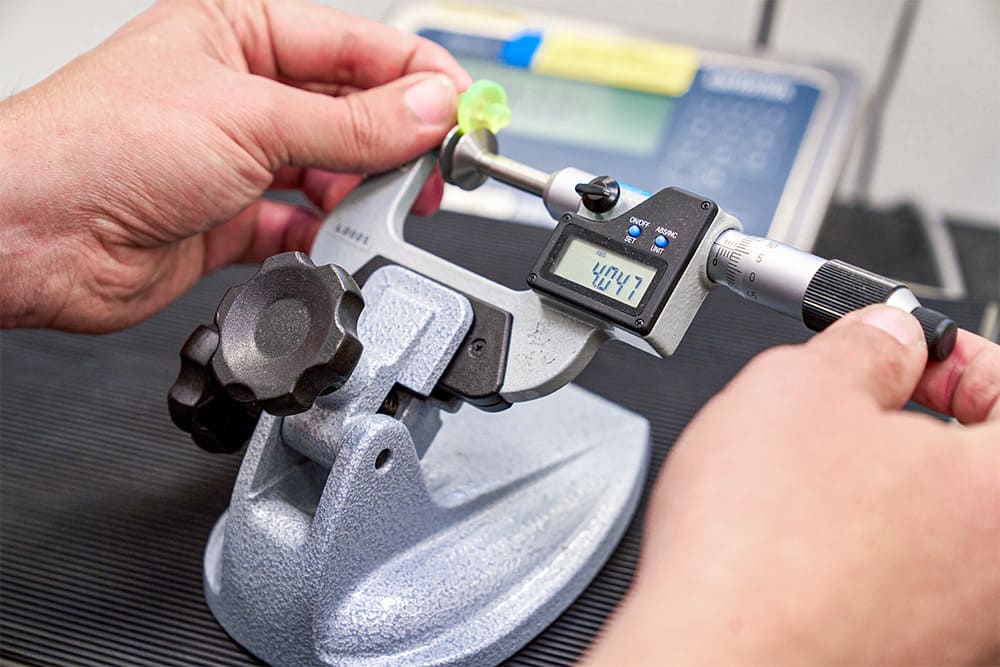
Whether existing or newly purchased rotors, Hofmann takes care of the precise measurement and documentation of your parts. This means you are always prepared for audits, ensure compliance with all specifications and guarantee the precise measurements of your balancing machines.

Production of accredited test equipment. Hofmann manufactures setting rotors, master rotors and associated test masses:
- Standard-compliant adjusting rotors in accordance with DIN ISO 21940 - 21 and SAE ARP 4162
- Master rotors made from modified original parts
- Master rotors based on original parts
- Test weights incl. special versions such as folding weights for crankshafts
Within the scope of accredited testing, the Hofmann test laboratory
- Geometric measurement of the rotor
- Checking the residual unbalance, rebalancing if necessary
- checking the test masses
- checking the special designs
comprehensive service included
Reminder service
You can safely forget about your inspection date. Hofmann offers comprehensive accreditation management including a personalized reminder service.
3D-KMG measurement as a service.
Hofmann has a DAkkS-certified coordinate measuring machine from Wenzel, an air-conditioned measuring room of quality class 2 and several DAkkS-certified scales. The testing and measuring personnel for coordinate measuring technology are trained in accordance with AUKOM. All relevant processes are described in a quality manual.
Hofmann offers high-precision, three-dimensional measurement of rotationally symmetrical components through to complex free-form surfaces based on CAD models. Whether prototype or series, every measuring task is mastered professionally. Each measurement includes a report with documented conditions, measurement results including accuracy information and the evaluation methods used.
